Recover Your Deleted Photos with the Best Apps
Turning your phone into a projector is a creative and affordable way to share videos and images with friends and family. Here are a few simple steps to get started:
Choose a smooth, white wall: For a clearer projection, it is important to select a flat, light-colored surface.
Dark environment: Close curtains and turn off lights to improve visibility of the projected image.
Phone positioning: Adjust the height of your phone so that the projection is aligned with the desired surface.
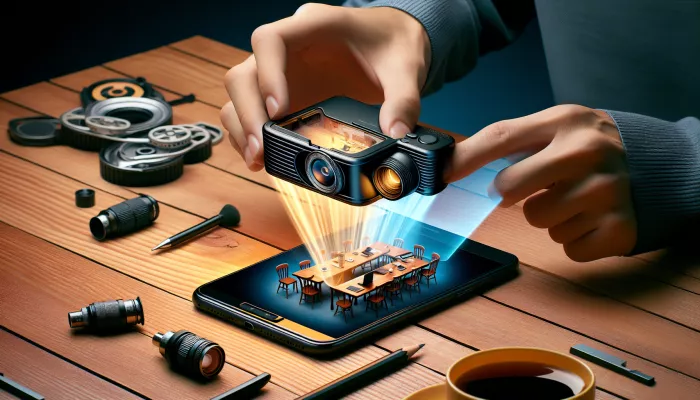
1. Creating the projection structure:
Use a shoebox, a magnifying glass, and duct tape to assemble your homemade projector. Drill a hole in the box the size of the magnifying glass and secure it to the space, creating the projector lens.
2. Adjusting brightness and focus:
Increase your phone's brightness to maximum for a clearer image and adjust the distance between your phone and the lens to focus the projection.
3. Device Security:
Make sure your phone is secure and stable inside the case to prevent drops or damage during projection.
Make sure you make the most of this at-home experience by combining the ease of mobile technology with the magic of cinema in your own home!
This code provides an informative and practical basis on how to turn a cell phone into a projector, following the requested guidelines and avoiding duplicate content.
Additionally, it focuses on accessibility and simplicity for those doing this for the first time.
Your smartphone's projection quality can be significantly affected by your environment. For best results:
For high-quality projection, adjust your smartphone settings:
However, there are apps available that can improve the projection experience:
As well, the positioning of the smartphone in relation to the projection surface is crucial:
Keeping your smartphone and projection accessories in good condition is essential:
Additionally, to build your own portable projector using a cell phone, some accessories are essential. Below, you'll find a list of items that will contribute to a successful projection experience.
Still, One magnifying lens A good-quality lens is essential for increasing the size of the image projected by your smartphone. This lens will serve as the projector's main optical component.
For example, A sturdy cardboard box is the main body of your projector.
However, it must be chosen or adapted to suit the size of your smartphone and the magnifying lens, ensuring stability and a dark environment for projection.
However, to avoid light leaks, it is recommended to line the inside of the cardboard box with black duct tape or paint it with matte black spray paint, which will help improve image contrast.
That is, the use of a adjustable support To position the cell phone inside the box, it is important to align the image with the lens and keep the device fixed during use.
In this sense, you will need a cutter or utility knife sharp to make cuts in the cardboard box, which must be done carefully to maintain precision and avoid accidents.
Furthermore, to fix the lens and possible internal dividers or smartphone support, a quick-drying glue or double-sided adhesive tape will be necessary, providing a safe and agile assembly.
Additionally, before cutting or modifying the box, it is important to use a ruler and one pencil to make accurate markings and ensure proper proportions for projection.
However, in some cases it may be useful to have a tracing paper or paper translucent to create an additional projection surface and improve image sharpness.
In other words, remember that the quality of the accessories will directly influence the final result of your projection. Therefore, invest in high-quality materials and follow the assembly instructions carefully.